
1. NATURAL LIGHT
Regardless of what else you consider when photographing your knits, natural light will always show off the colors and stitch definition best. It's REALLY tough to wait until daylight when you finish that great sweater you've been working on feverishly, but if you'll look at photos that you love and that are really spectacular, you'll notice they are generally photographed outside or by a window. (Sometimes you can't tell they are by a window, but if you start looking, you'll see the difference between a photo taken with a camera flash vs. one that wasn't).

2. BACKGROUND
When I photograph my knits I try to consider an interesting background that won't compete with the knitting. Sometimes I like to have a pattern or piece of artwork that is near me, sometimes I like to have a very simple background, like a solid wall in my home. It just depends on the piece, how much detail it has, and what I think will compliment it. Please just consider something that you would want people to see versus some dirty dish lying on your coffee table or a cat hair/dog hair ridden chair. You have worked hard on this piece! Show it some respect and hide the messiness of your house from the photo. I'm not telling you to become a neat freak, just pretend for this one photo that you are one :)

3. DISPLAY
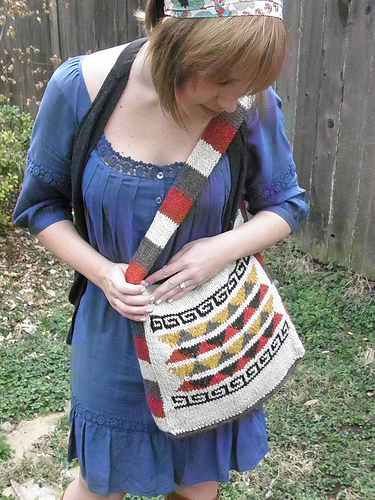
Remember that most knits are 3D shapes and look droopy or floppy when not filled with a similar shape as the body part it's made for. A dress form is of course nicest when photographing shawls, sweaters, etc. I don't have one either, so don't worry. Consider using some tissue paper or small towels, etc. to stuff your knit (ie. for a hat or baby items) before your photograph it. Or, lay it out nicely, fold it nicely and again, consider what will be in the background of your knit. Sometimes I make my dog wear things. While fun, this is probably not the most professional look you can get, but hey, if they'll sit still long enough to give the item some shape, at least you're 'considering' the shot.
If you do have a sweater or other clothing item to photograph and you want to put it on in which to do so (makes sense, especially if it's for you!), think about your outfit and the styling of it as you go to put on your new product. Will anything else show in the photos? Would it compliment the sweater or cardigan to wear a leather belt to show off the shape? Would wearing shoes really accentuate the style of the knee socks? You can always take some photos with your other clothing props and some without, so people can see details that might be hidden by the accessories. But we all know what a toe of a sock looks like, right? Mix it up a little and have fun with styling yourself and your new item of clothing.
4. COMPOSITION
This is a basic design fundamental and it has some to do with the background tip stated earlier, but it mostly has to do with how you position the item being photographed within the frame of the picture. Think about interesting angles and filling up the photo as much as possible with your knit. Don't be too far away from it so people have to search for what you want them to focus on. The great thing about digital cameras is that you can take as many photos as you want, choose the best, and delete the rest. So don't be afraid to try a bunch of angles, getting closer in and farther away, etc. You can't go wrong, but you can have fun finding your favorite angle for that piece. You can also easily crop your photos once you get them onto the computer if you need to. Again, consider these tips for composition as you crop. You will be amazed at the difference it makes!

**Please let's have a minute to focus on socks here. If at all possible, find someone to photograph them for you if you want to wear them in the shot. A shot of your feet from your perspective A) is not flattering and B) doesn't usually show off the loveliness of the design or pattern you've worked so hard to create. Let's have well-shot socks!!
In conclusion, I will be the first to tell you that not all of my photos on Ravelry are great, professional looking shots. Those early ones are somewhat atrocious! I have been learning as I go over the last 8 years of knitting and 4 years of being on Ravelry. What I am saying is that you might as well consider some good practices when taking pictures of your hard work. You want to really make it shine and stand out among the rest, right? You're proud of the time and effort you put into making your piece and that should show through your photograph. Again, you don't need spectacular equipment, just some forethought to get really great pictures. I hope you'll consider these and have fun with it!
No comments:
Post a Comment